
Please note!
As per today, there is no Digital Nomad Visa available in the Philippines anymore.
As announced before, “The Digital Nomad Act” will be discussed. More details to follow.
If you’re a digital nomad looking to work and live in the Philippines, you can now apply for a special visa that allows you to stay in the country for up to a year. Here’s a step-by-step guide on how to apply for a digital nomad visa in the Philippines:
Step 1: Check your eligibility
To qualify for a digital nomad visa in the Philippines, you need to meet the following requirements:
- You must be a foreign national who is earning an income from overseas clients or employers.
- You must be able to provide proof of your income.
- You must not have a criminal record.
- You must not pose a threat to national security.
Step 2: Prepare your documents
Once you have determined that you are eligible for the digital nomad visa, you will need to gather the following documents:
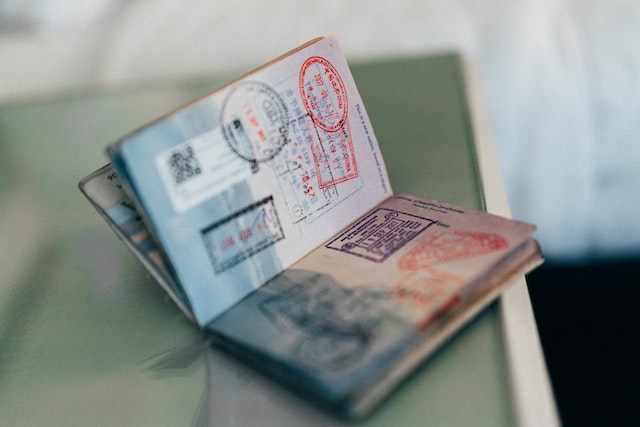
- A valid passport with at least six months validity from the date of application.
- A completed application form.
- A letter of intent stating your purpose for staying in the Philippines.
- Proof of income, such as bank statements or tax returns.
- A police clearance certificate from your country of origin.
- A medical certificate from a licensed physician in the Philippines.
Step 3: Apply for the visa
You can apply for the digital nomad visa at the Philippine embassy or consulate in your home country. Alternatively, you can also apply for the visa upon arrival in the Philippines.
Step 4: Pay the necessary fees
The digital nomad visa application fee is PHP 2,000 (approximately USD 40). You will also need to pay an annual fee of PHP 10,000 (approximately USD 200) for the visa.
Step 5: Wait for the visa to be processed
Processing time for the digital nomad visa is approximately 7 to 10 working days. Once your visa is approved, you will be issued an electronic visa, which you can print and carry with you during your travels.
Step 6: Enter the Philippines
Upon arrival in the Philippines, you will need to present your electronic visa and other supporting documents to the immigration officer. The digital nomad visa allows you to stay in the country for up to a year, with the option to renew for another year.
That’s it! With this guide, you should be able to apply for and obtain a digital nomad visa in the Philippines. Good luck with your travels and work!

